My instructions are below. Even though my example is a pumpkin, try it with red or green for a Christmas Curvy box, or any number of delicious paper combinations!
You need your Big Shot, 2 coordinating papers (cardstock, DSP, etc) Curvy Keepsakes Box die.
Step 1. Using a strip of DSP ( measures 3" x 6"), cut out the "handle" side of the box. You will need 2 of these.

Step 2: Trim off excess areas so that your 2 pieces look like this:


Step 4: Cut off the "handle" side as shown, leaving about 3/4" flap.

Step 5: Attach the 2 "slot" pieces to each other using Tombow Liquid Glue or Sticky Strip as shown:

Step 6: Now add adhesive to the card stock flaps, and attach the "handle" pieces that you prepared:

Step 7: Now it should like this with everything attached:
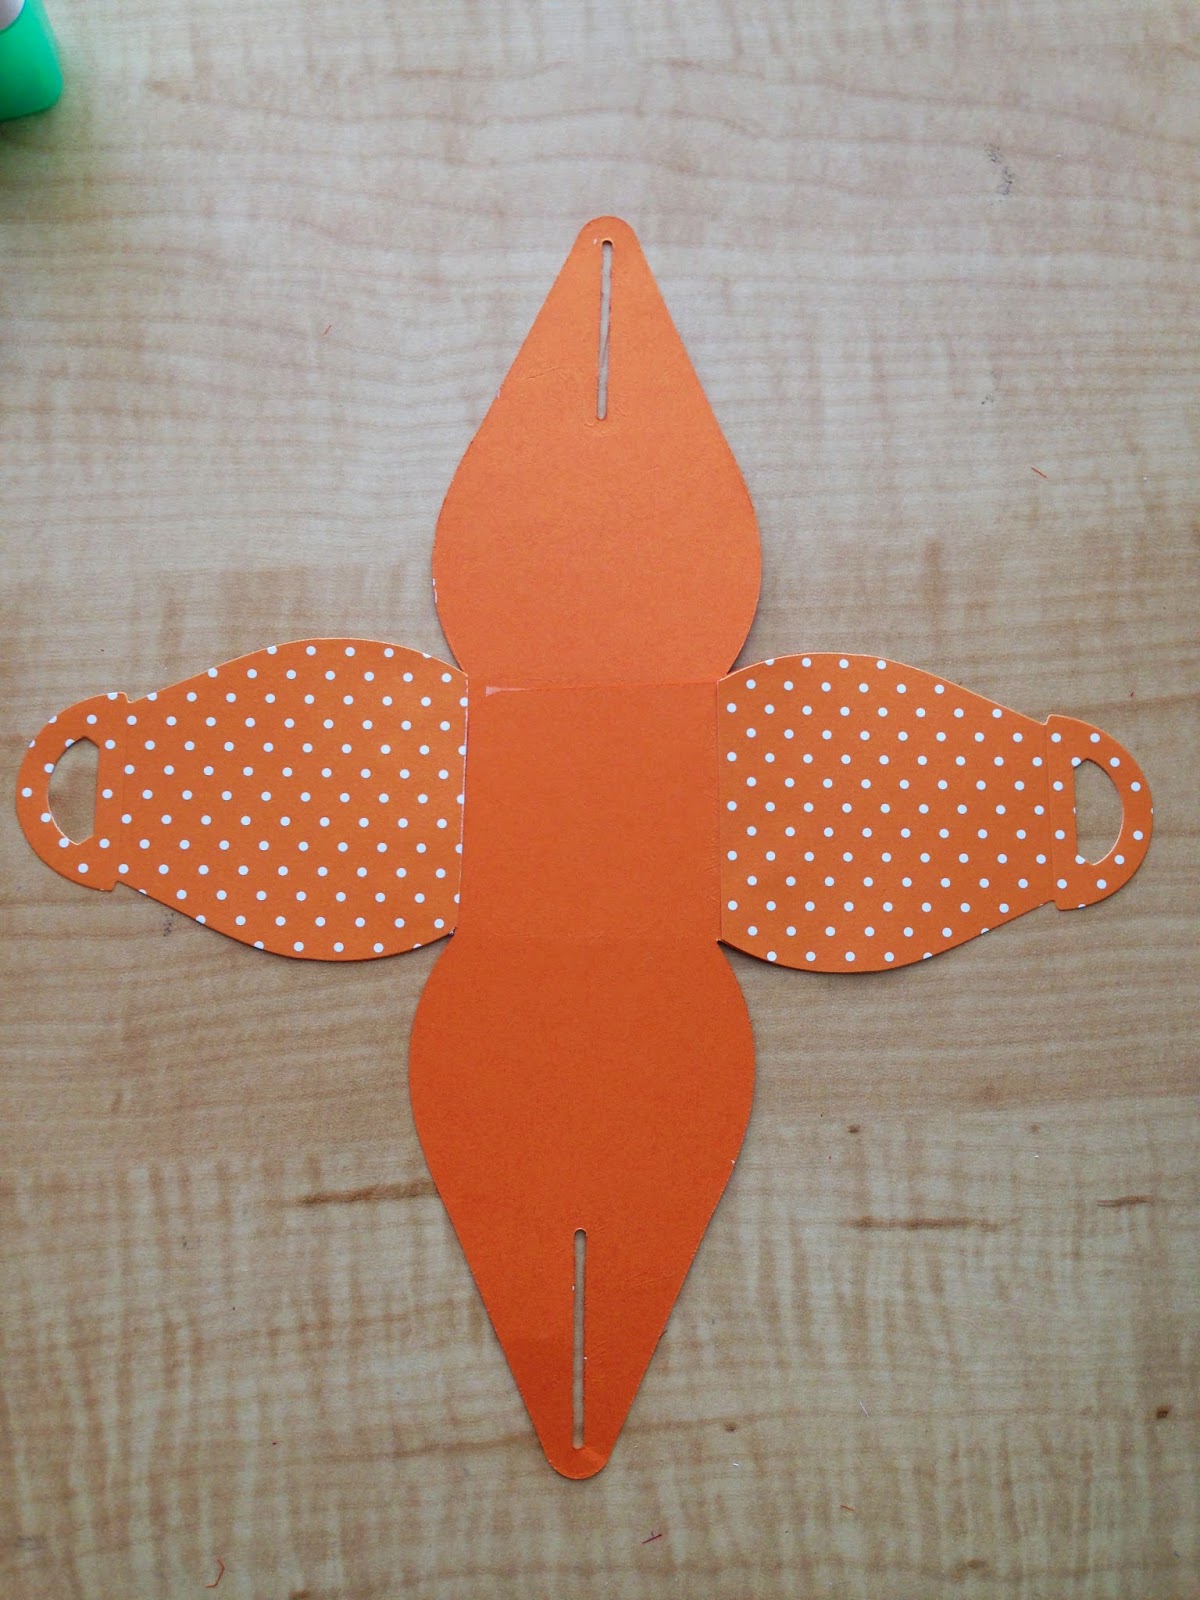
Step 8: Use Bone Folder gently to get the sides to begin to curl in a bit (see full instructions in previous post if necessary)
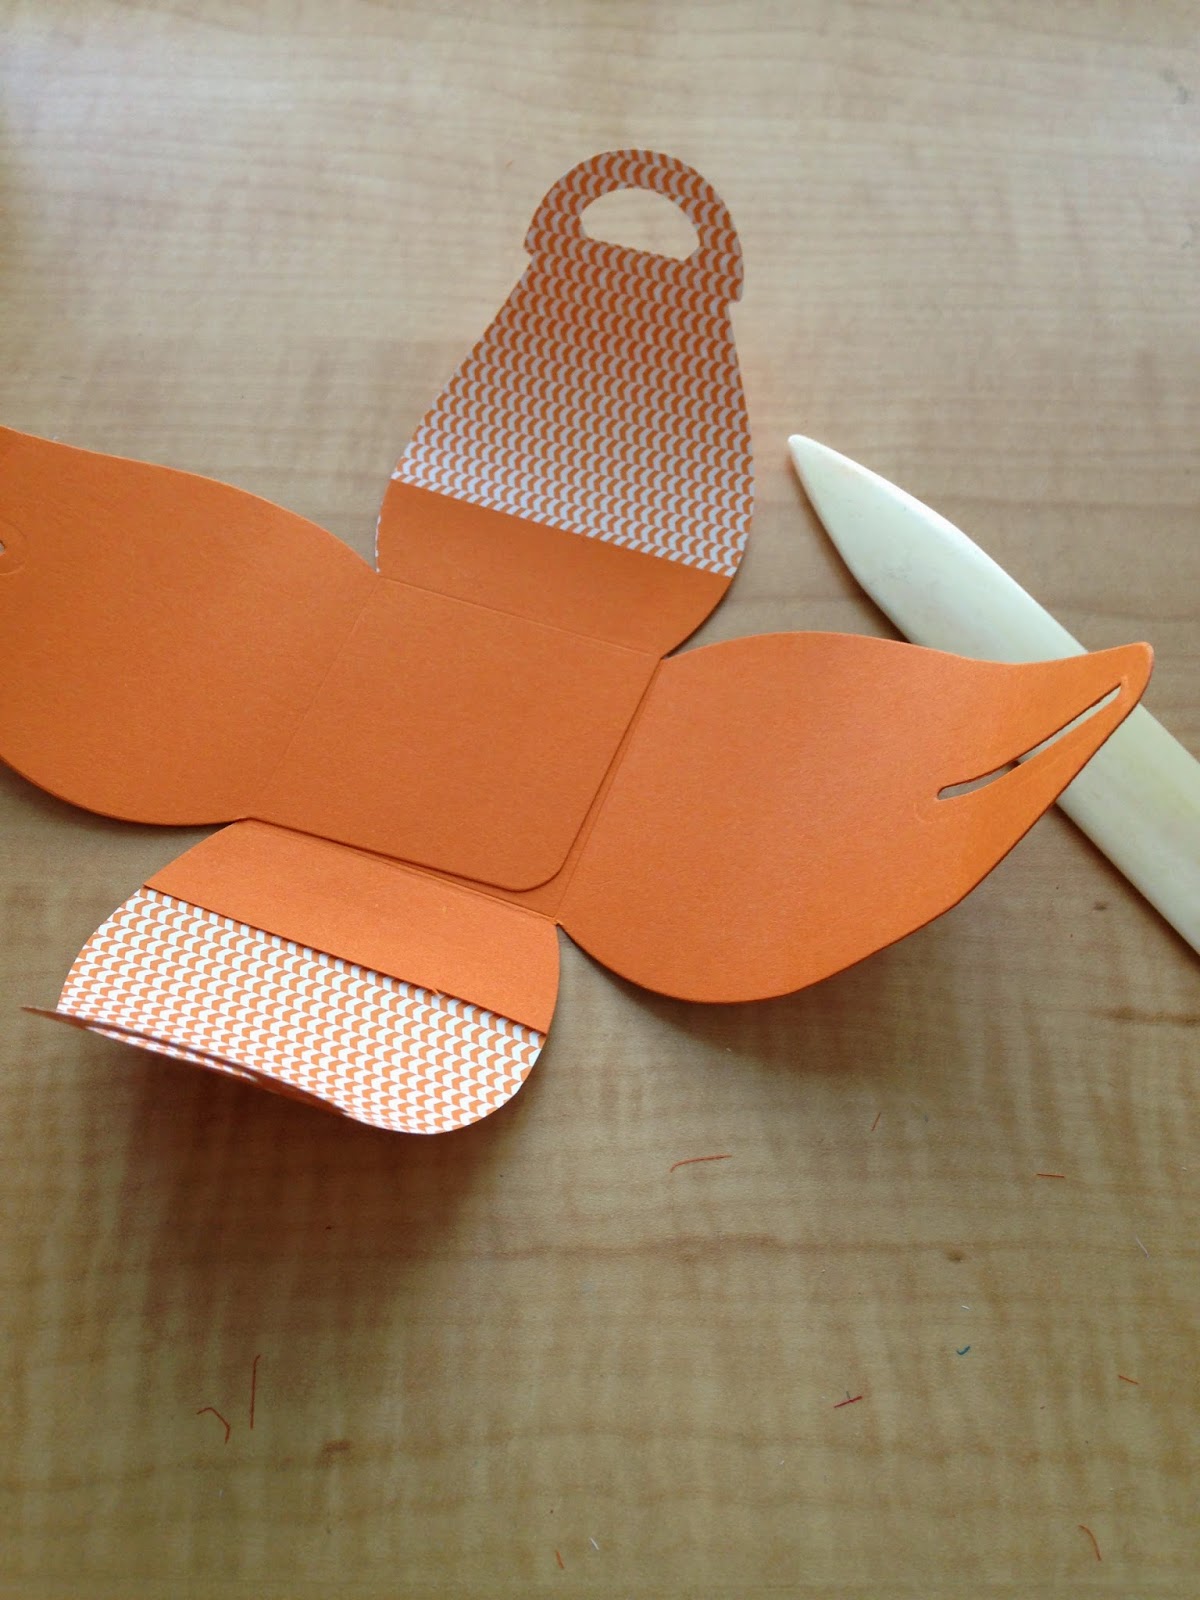
Step 9: Finished!!


