Follow me on Pinterest

Saturday, November 14, 2020

Stamp Club October 2020

 We made a couple of these lovely (and not hard) Cube Cards. This one works as a Thanksgiving card, or any Thank-You card really.  I had quite a bit of retired "fall" DSP that we used, but any small print DSP works wonderfully.  The second version is the Christmas theme one. Directions are below - and I encourage you to make one of these.  They fold flat and fit in *envelopes for mailing, put pop out and sit up in this cool 3-D fashion once they are opened.  

Directions and dimensions are below....

Ornate Thanks stamp set                                                           #149471              $18                       AC 66

Cajun Craze cardstock                                                                #119684              $8.75                   AC 142 

Bumble Bee cardstock                                                                #153077              $8.75                   AC 143                      

Whisper White cardstock                                                          #100730              $9.75                    AC 143

Designer Series Paper – in colors of your choice

Bumble Bee ink pad                                                                    #153116              $7.5                      AC 143

Early Espresso ink pad                                                                #147114              $7.5                      AC 142

Champagne Rhinestones                                                            #151193              $6                          AC 156

Stampin’ Seal adhesive                                                               #152813              $8                          AC 162

Or

Multipurpose Liquid Glue                                                          #110755              $4                          AC 162

Tear & Tape                                                                                   #138995              $7                        AC 162

Simply Scored    Scoring Tool                                                    #122334              $30                       AC 151

OR

Paper Trimmer                                                                              #152392              $25                       AC 151

Start with an 8 1/2" x 8" piece of colored cardstock. On the 8 1/2" side, Score at 2", 4", 6" & 8". Turn and place in trimmer. Cut a 4" strip off and set aside. With the remaining 4" strip, cut it in half (or at 2").  You should now have 3 piece:  1 piece that is 4" x 8 1/2" and 2 pieces that are 2" x 8 1/2".

Reinforce all score lines. Put a strong adhesive on the 1/2" tab of each strip (like Tear & Tape or Seal+). Go ahead and form all 3 boxes.

Using strong adhesive again, attach the 2 smaller boxes to the 1 large box. See photo of finished card, to determine placement. The large box sits upright with its seams going vertically. The smaller boxes are attached to it, side-by-side. Their seams go horizontally.

To make layers on the faces of the cubes, cut a contrasting cardstock into 1 ¾” squares. You'll need 6. And cut 6 smaller squares out of DSP that measure 1 ½” square. Attach layers to the faces of the cubes as pictured.

Stamp and prepare (punch, trip, die cut) any 2 coordinating sentiments for your Cube card. Set aside. Next, prepare the tabs that will hold your sentiments in place: Cut 4 small strips of scrap whisper white cardstock, measuring approx 1/2" x 1 1/2". Score/fold each of these pieces in the middle. At the top of the box, you'll adhere 2 tabs to hold your main greeting, one on each side of the center fold. Do the same for the sentiment inside the folded area. Attach your 2 sentiments to these tabs and finish by adding any bling, gems or other embellishments as desired.


*A word about Envelopes:   a typical  greeting  card  envelope in  stamping  world holds a card that  is 4 1/4" x 5 1/2". The envelope measure 4 3/8" x 5 3/4" and in office supply stores are commonly called A-4 or Invitation envelopes.  I've also seen them referred to as #5 1/2.  The Stampin' Up! envelopes that you can get through me are superior to any that I've used.  The finish is smooth and satin-y, unlike any that I've found elsewhere. And they accept our inks SO much better than a cheap, flat, dull envelope.  

Buy White Envelopes.

Buy Vanilla envelopes  

Follow me on Pinterest:  Paper Desserts

Shop from my Online Store


Friday, September 11, 2020

Stamp Club September 2020

We had a great time meeting IN PERSON in September with a wonderful turn-out.  Thank you to those who showed up, stamped gorgeous cards and got to visit/chit-chat/connect with one another.  What an uplifting and inspiring time we had!!

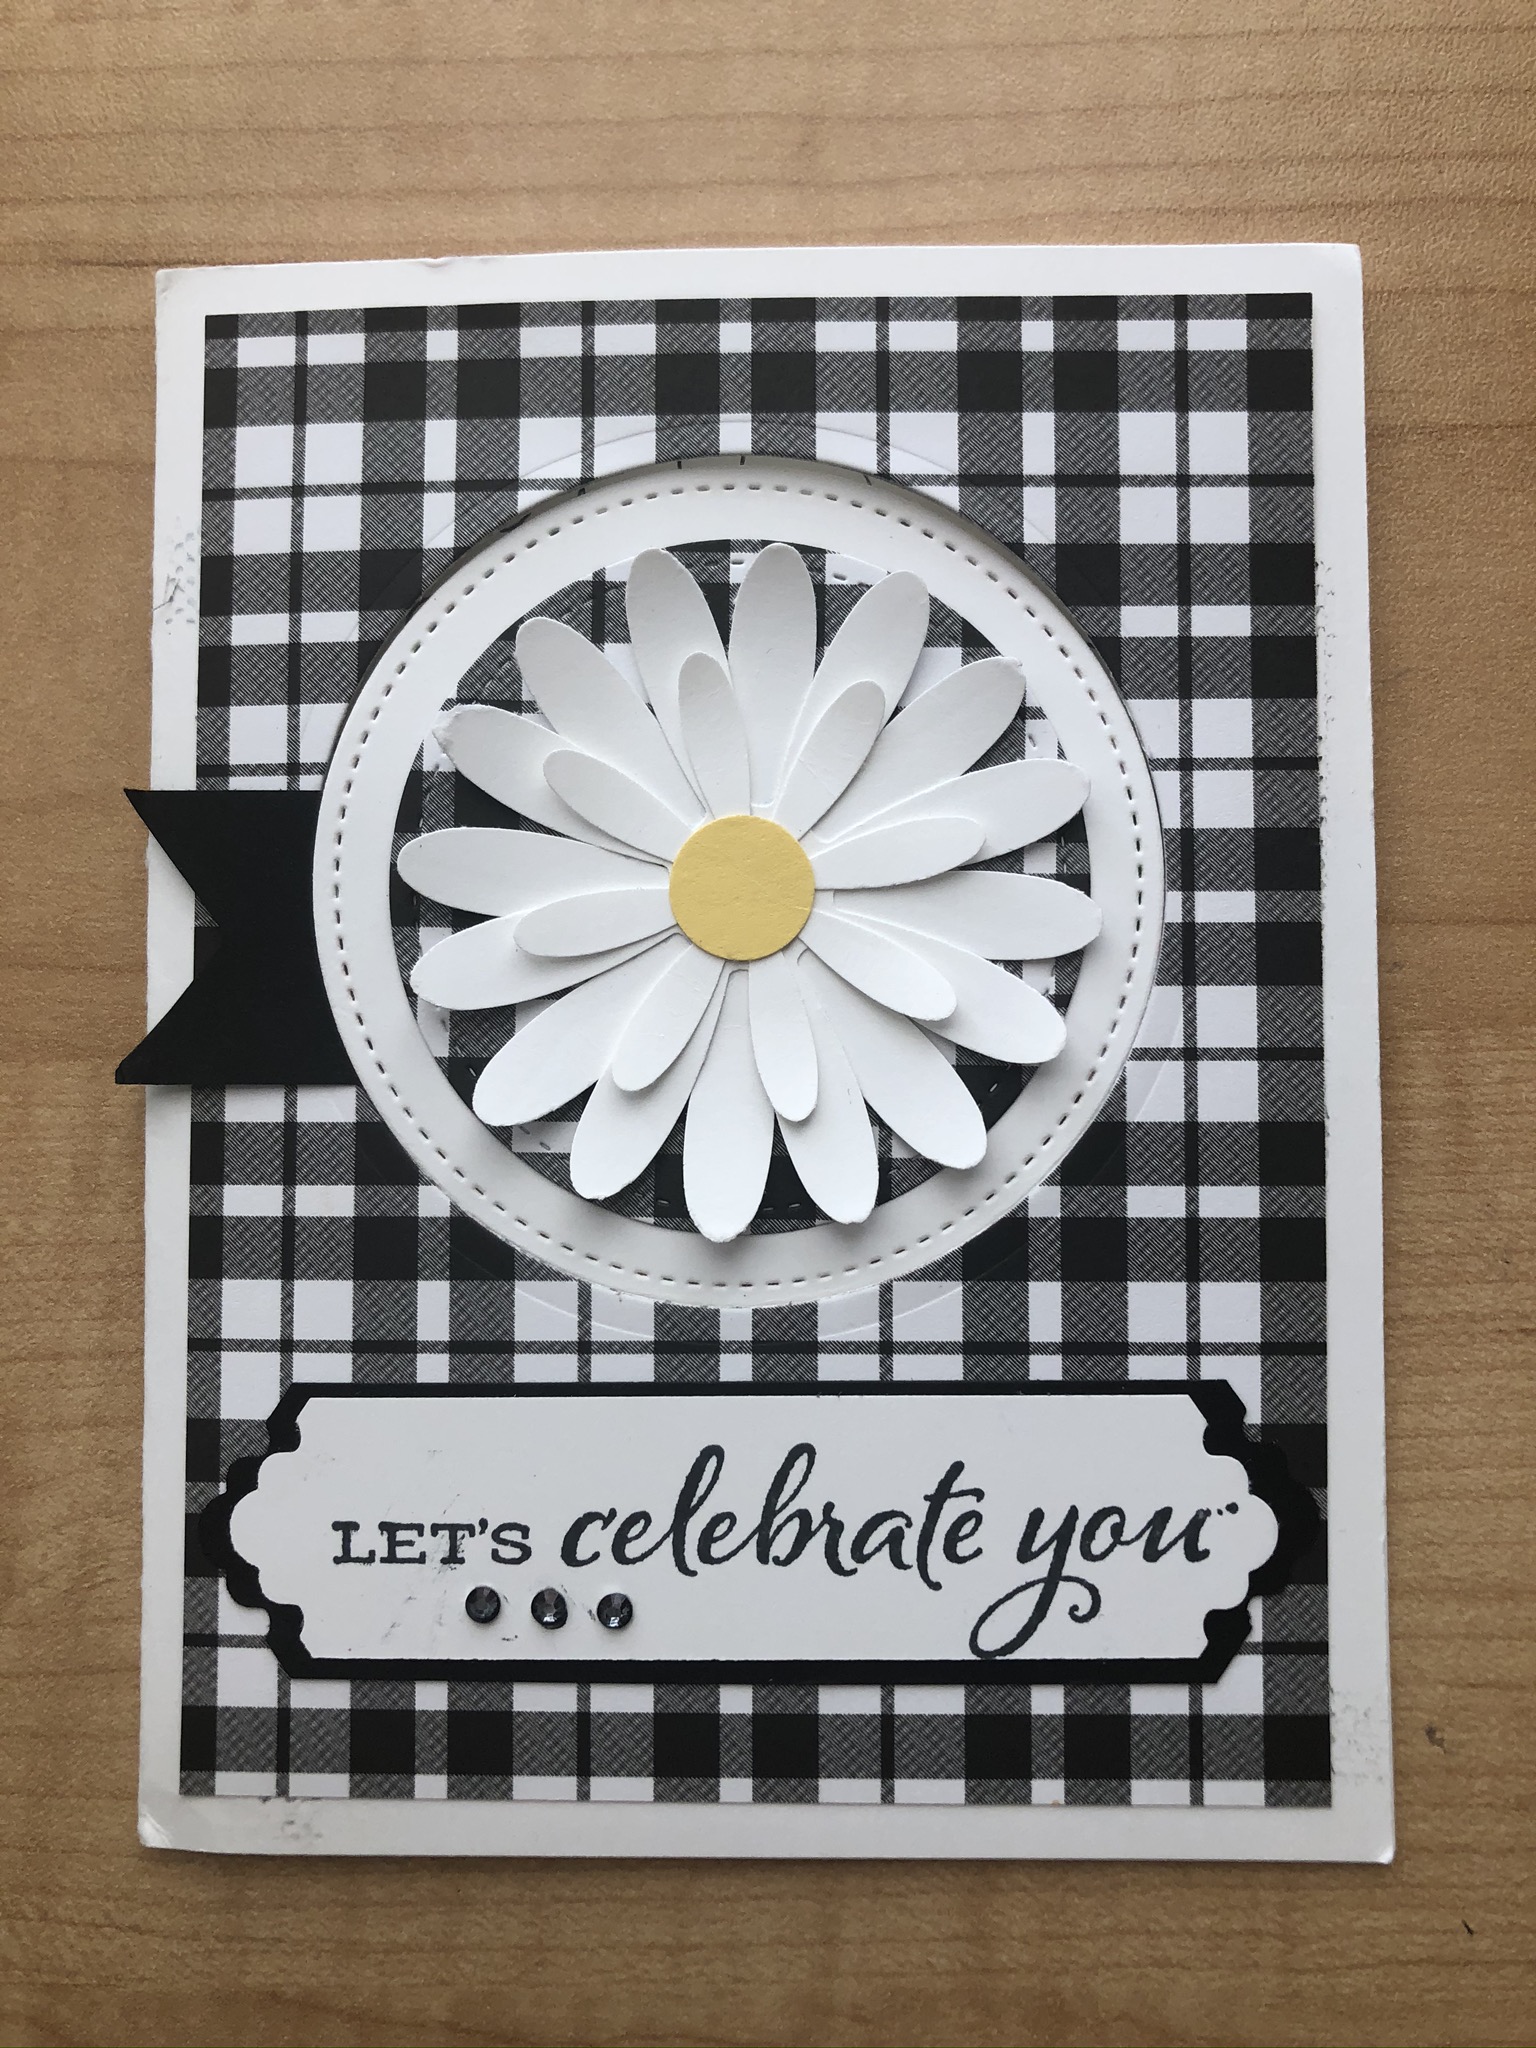
The first card was inspired by a card I received from my upline, Sandy Hancock, as a congratulations on my recent promotion to "GOLD" level. Sandy's card was done in black and white plaid.


 We switched it to a floral card using DSP from Flowers for All Seasons.  Each of your cards was slightly different depending on which paper you were given. Here are 2 examples.

The inside looks like this....


The circles were cut out of the cardstock and DSP with Stitched Shapes Dies. The flower was created using the Large and Medium Daisy punches.


The second card was made with a rainbow background. The stripes of cardstock used, were simply strips cut from scraps of cardstock.  This is a GREAT way to use up scraps!!  Coat the background piece (we used a 3" x 4" piece of Whisper White cardstock) with gluestick. Then lay strips of colored cardstock down. Vary the pattern and vary the width of your strips.  Most of our strips loosely measured 1/8", 1/4", 3/8" and 1/2".  Once the strips are glued down, simply turn the piece over and use scissors to trim excess away.  Although we did the rainbow colors, any combination of colors would be pretty!


Once the striped background was complete, we added the images from Zany Zebras, a mat of black cardstock and either a yellow or green card base (yellow pictured). Rhinestones gave it some pizzazz. The top card features only colors in pinks/purples and has sequins as embellishments.

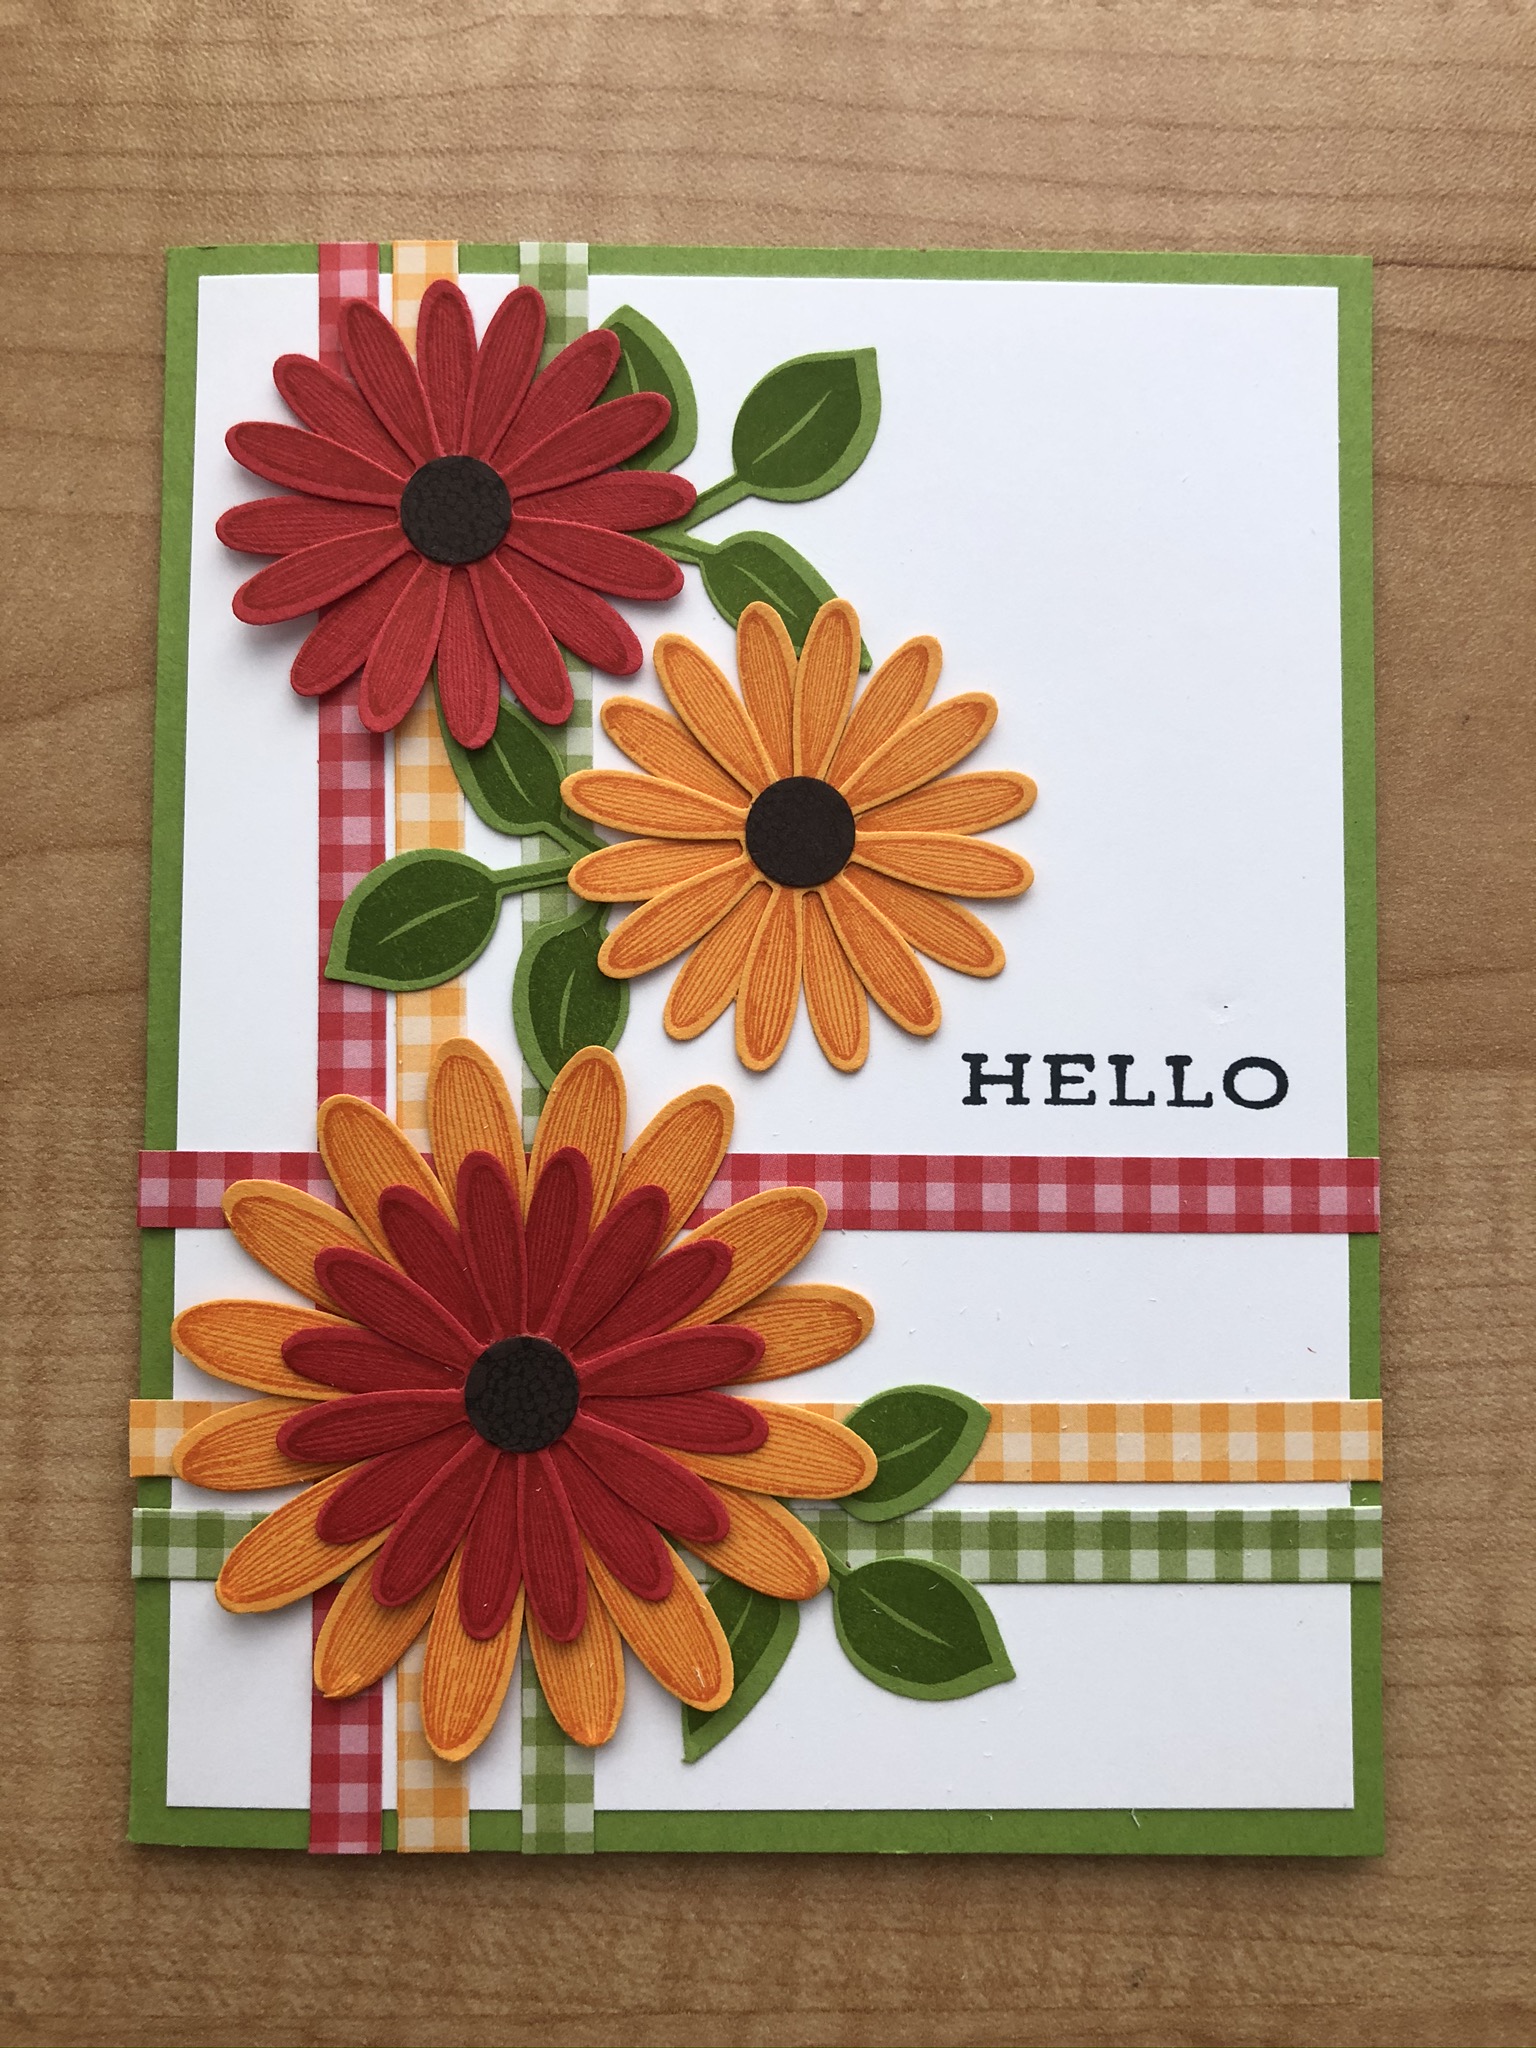
I made this card last week, CASED from something I saw on Pinterest. I fell in love with the look and of course the gingham is a favorite for me (retired DSP). This one is done in Poppy Parade, Mango Melody and Granny Apple Green.


I couldn't get away from the idea quite yet, so I also created these variations....


 Inspired but ready to try a new color combo, we made this card at Stamp Club using Highland Heather, Pool Party and Pear Pizzazz.  The Daisies are punched with the Large and Medium Daisy punches. The stamp set is Daisy Lane, and the leaves come from the stamp set Floral Essence and punched with the Leaf punch.


I hope these feel-good cards have put a smile on your face today and inspired you to stamp, create, and send some happiness through the mail to someone!

Happy Stamping!


Saturday, August 15, 2020

Stamp Club August 2020

 I'm really in love with the new stamp set called Nothings Better Than.  You can fill in that statement with any of these appropriate words:  Cookies, Chocolate, Coffee, Cocktails, or make up your own. At Stamp Club we made this card featuring the stamp set and using the coordinating Love You More Than dies. Layering Circles dies came in handy to create a spot for the focus of the card. The colors used were: Magenta Madness, Granny Apple Green, Daffodil Delight and Memento Tuxedo Black.

This is a variation using ink colors in Daffodil Delight and Poppy Parade.


We also got a try at the new Jar of Flowers stamp set.  We made a simple but gorgeous card by punching out the Jar (Jar Punch), adding a ribbon treatment, and then attaching it to the card front where the flower bouquet had been stamped and colored with Stampin' Blends. A very fun card to make!


In this photo are some variations of cardstock and DSP:

And this one features the Mason Jar Shaker Domes and the Flowers For Every Season Gems. Shake-shake, so cute!

And last but not least, we got to try out products from the Heartwarming Hugs Suite.  We used the Warm Hugs Bundle and made a cute little wrap around the mini cup.  There are thousands more ideas to use with products from this Suite - I'm just getting started.

Heartwarming Hugs DSP, Mossy Meadow & Pear Pizzazz cardstock, Real Red ink & Memento Tuxedo Black ink, Real Red Braided trim and the Glitter Star Ornament put it over-the-top!